I’ve recently got back into Model Railways, and have constructed various card kits for the buildings. These really needed lighting, and this page describes the process that I used.
Ordinary LED’s have three problems for model lighting:
- The light is too directional.
- The colours are rarely “natural” for the model.
- The LED isn’t flat enough to be hidden.
An economical solution to both these is to use commercially available “LED Strip”. This consists of groups of 3 surface mounted LED’s, together with a resistor, mounted on a self adhesive strip. I find the “WARM WHITE” ones give the best colours and the non-waterproof variants easier to work with.
They are normally sold in 500mm, 1m or 5m lengths. Ebay is often the cheapest place to get these – A 5m strip (containing 300 white LED’s) is under £3 delivered – at 1p/LED, this is much cheaper than buying them individually.
This is a 50mm length of the strip: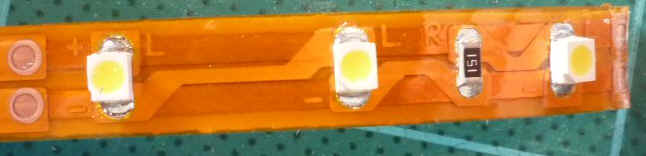
Unsolder the resistor and cut the strip into sections, each containing a single LED. Remember which side of the LED is positive – on this strip, it’s the side marked with L.
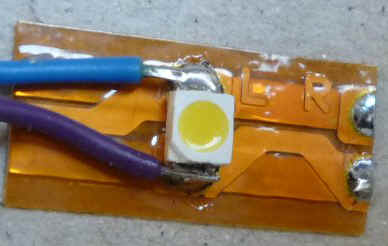
Thin wires can then be directly soldered on to the LED:
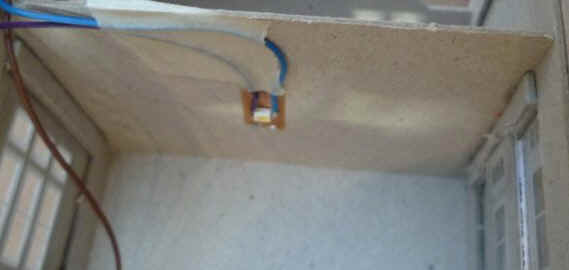
The self adhesive backing is then removed, and the LED stuck on the ceiling of the model:
Power
Each LED has a constant voltage of between 3.0V and 3.1V. A stable supply is best, otherwise the LED’s can flicker. Wire as many LED’s in series until the total is just below the voltage used, then add a resistor to control the current through the LED’s to around 5mA. For those who can’t remember Ohms law:
R = (Vsupply – Vled)/0.005
In my case, I use 5 LED’s in series, so the total voltage is about 15.5V
With a 16.5V supply, a 220R series resistor will give about 5mA through each LED. Don’t exceed 20mA, and don’t reverse the polarity.
If the supply isn’t too well regulated, use one of the circuits described on the LED Lighting Solutions page.
Once powered up, it looks like this: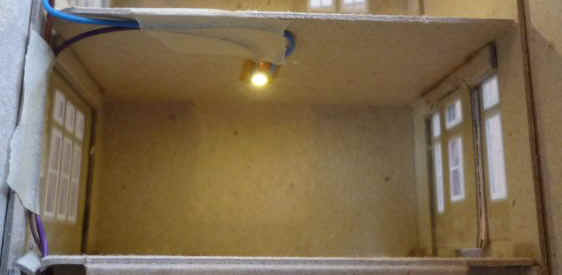
Unfortunately, once you light a building, the insides become more visible, and it looks better if at least a floor and some simple ‘furniture’ is added. I use 1/32″ cork sheet for the floor as it’s not too reflective, and small blocks of MDF or batten for the ‘furniture’: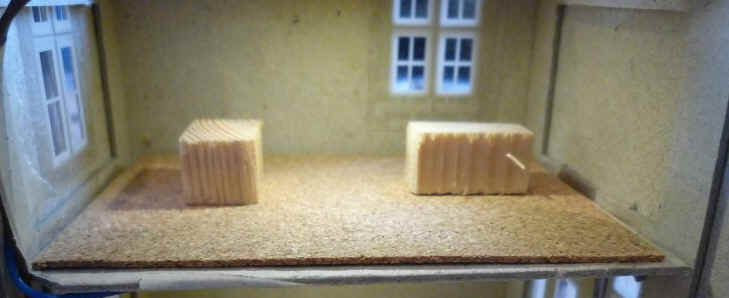
This is the final result of this conversion: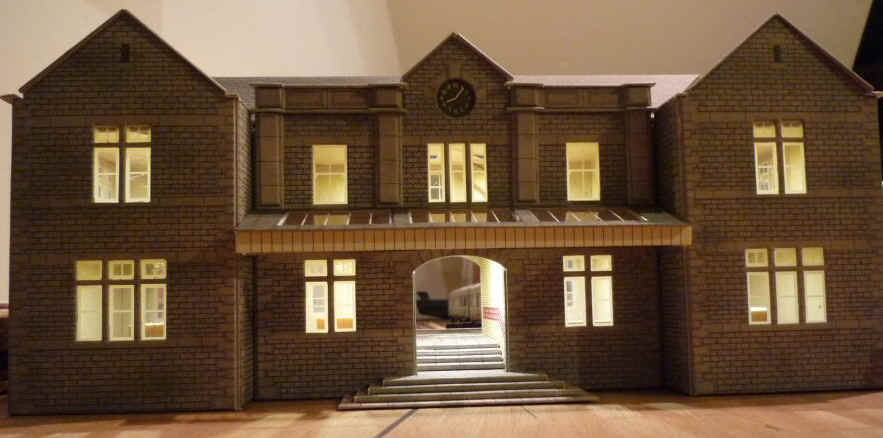
Note that you can just see the shadow of the lights outside the building, and can (just) see the hints of furniture inside.
This is a second model that’s been ‘lit’: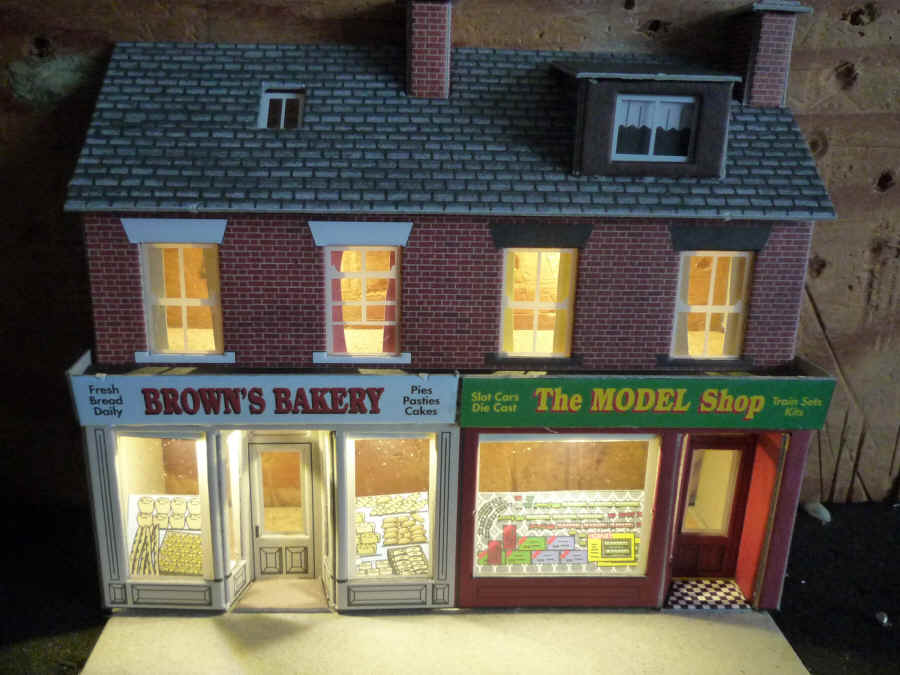
Here, the “shop” LED’s are mounted very near the front so that they illuminate the window displays.
Disclaimer: Whilst information on this page is given in good faith in order to help others, no responsibility for this information is assumed and all liability in respect of such information is disclaimed.